
Last updated November 2, 2026
 Wrought iron
 Wood & steel frame
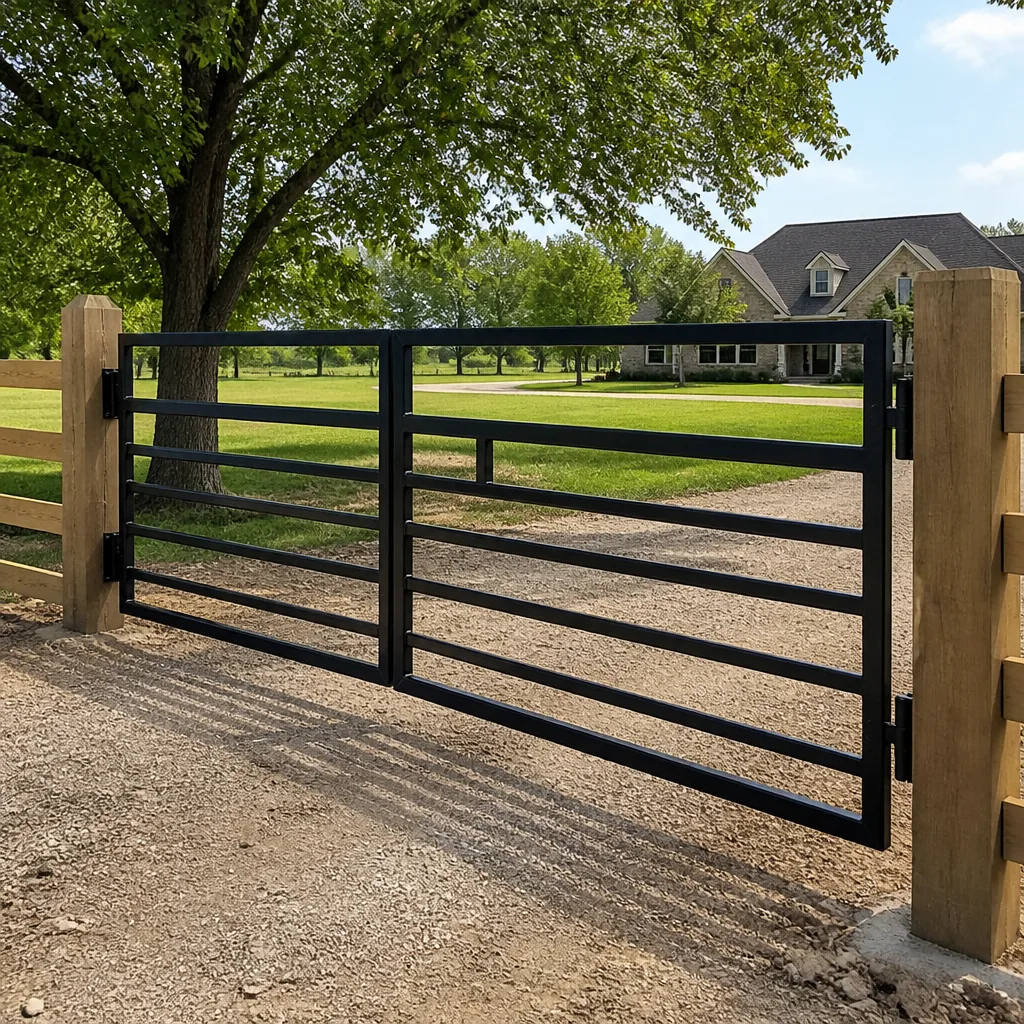 Farm & ranch
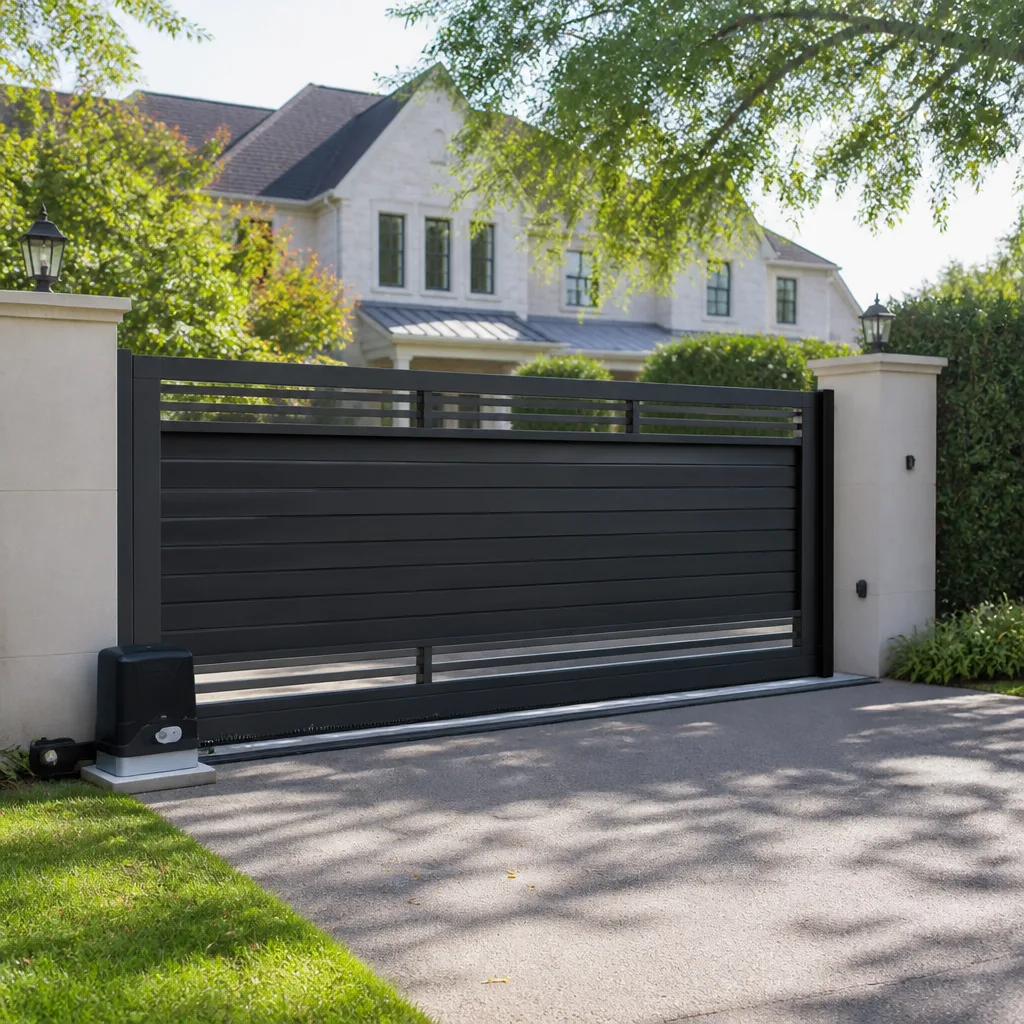 Sliding driveway gates
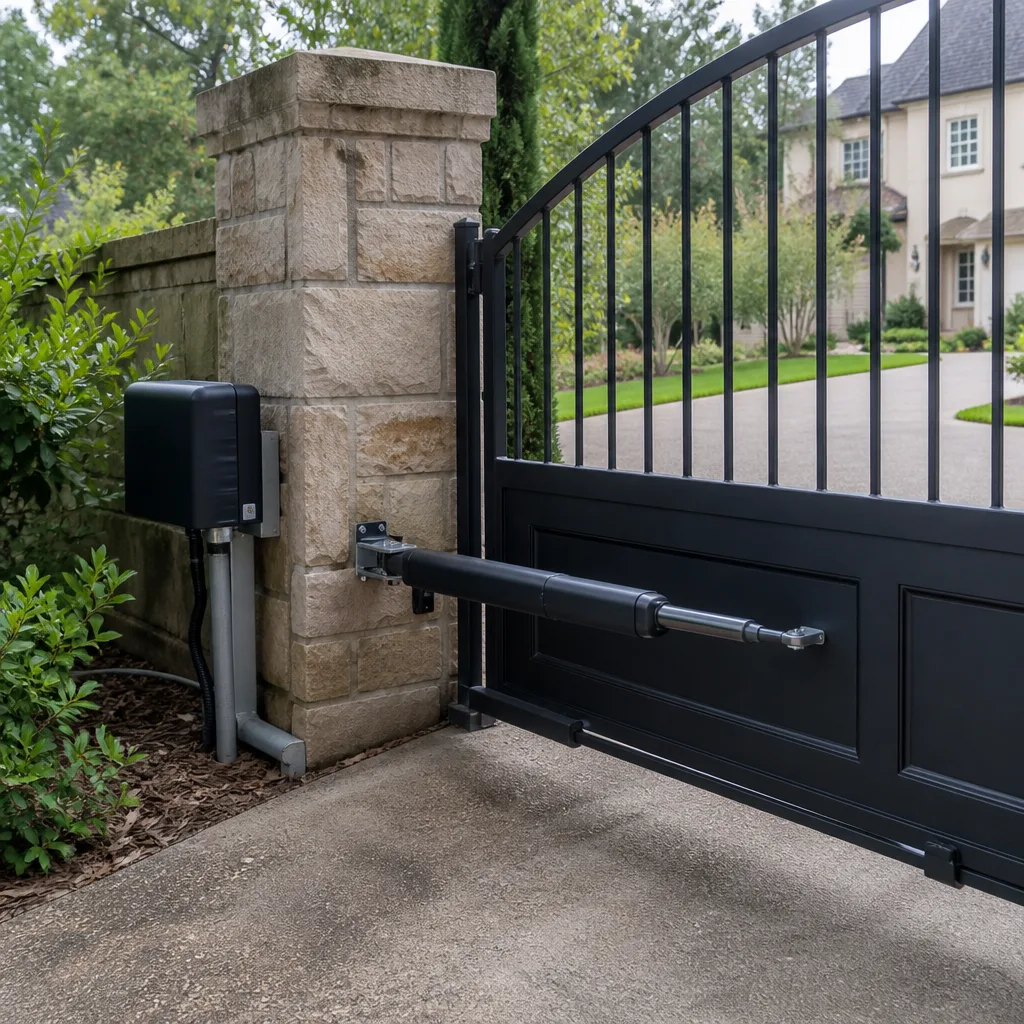 LiftMaster operators
Free on-site gate assessment - hinges, posts, and your LiftMaster or Nice gate operator checked before anything is quoted
The assessment is free and the quote is the invoice.
Get your free estimateGate Repair Maintenance Checklist for Rialto Homeowners
A standard gate maintenance checklist written for the Pacific Northwest will tell you to watch for rust from rain. In Rialto, that’s your least likely problem. UV embrittlement, dried-out lubricants, and thermally expanded tracks are what actually kill local gates. This guide is built specifically for Rialto’s climate: intense year-round sun, temperature swings that stress welds and fasteners, and Santa Ana wind events that punish an unmaintained gate. We’ve maintained and repaired gates throughout Rialto, and the pattern is consistent. Gates that get fifteen minutes of attention twice a year last a decade or more. Gates that get ignored until they fail end up costing four times as much to fix. You’ll learn exactly what to check, when to check it, and what to photograph so a repair call costs you less.
Quick Answer
A Rialto gate maintenance checklist should focus on UV damage, heat-accelerated lubricant breakdown, wind-related hinge and post wear, and electrical connection corrosion. The highest-value tasks are a twice-yearly level check on posts and gate frame, silicone-based lubrication reapplied every 4 to 6 months based on temperature exposure, and a visual scan for Stage 1 powder coat failure before it reaches bare metal. Photograph everything. Five minutes of documentation saves an hour of diagnostic time on the phone.
Styles & brands we work with
- Wrought iron
- Wood & steel frame
- Farm & ranch
- Sliding driveway gates
- LiftMaster operators
Table of Contents
- The Rialto UV Inspection Protocol: Catching Powder Coat Failure Early
- Lubrication on a Temperature Schedule, Not a Calendar
- Checking Post Plumb and Gate Sag: The Five-Minute Task That Saves Thousands
- Safe Electrical Checks for Electric Gate Owners
- What to Document and Photograph at Every Inspection
- Santa Ana Wind Preparation for Rialto Gates
- A Seasonal Maintenance Rhythm That Works in the Inland Empire
The Rialto UV Inspection Protocol: Catching Powder Coat Failure Early
Rialto averages over 280 days of sunshine a year. That sun is the single most aggressive thing your gate deals with, and it works on every surface: powder coat, plastics, wire insulation, keypad housings, and the seals inside operator arms. UV degradation is slow and quiet until it isn’t. A gate that looked fine in January can show visible failure by August. The trick is recognizing the stages before structural damage begins.
Powder coat doesn’t fail all at once. It fails in stages, and each stage has a clear visual signature:
- Stage 1: Chalking. Run a fingertip across the gate surface on a dry day. If a fine, colored dust comes off on your finger, the powder coat is oxidizing. The color will look slightly milky or faded compared to a shaded area. This is cosmetic, but it’s your early warning. A light sand and touch-up now prevents what comes next.
- Stage 2: Micro-cracking. Look closely at the top rail and any horizontal surface where water can pool briefly after irrigation or morning dew. Hairline cracks in the coating appear like a dried lakebed. Moisture gets under the coating here and starts working on the metal beneath. Touch-up paint still works at this stage, though it’s less forgiving.
- Stage 3: Flaking and rust bloom. The coating begins lifting off in chips, and you’ll see orange-brown staining underneath. This is structural. The metal is now actively corroding, and once rust blooms on a welded joint, the repair cost jumps. Grinding, rust treatment, priming, and recoating are the minimum. On a sliding gate, rust at the track roller interface accelerates wear dramatically.
The move is to catch it at Stage 1. A simple annual inspection of the top rail, the weld joints, and any surface that faces west or south (those get the most intense afternoon sun) will show you where trouble is starting. In our experience working on gates across Rialto, powder coat on south and west exposures tends to start chalking two to three years earlier than shaded faces. Call gate repair in Rialto when you hit Stage 3. It’s still fixable, but grinding and repainting isn’t a homeowner weekend project if you want it to last.
Lubrication on a Temperature Schedule, Not a Calendar
National maintenance guides will tell you to lubricate gate hinges, rollers, and operator chains every six months. That guidance assumes a moderate climate. Rialto is a different animal. Summer pavement temperatures regularly exceed 120 degrees, and a black iron gate sitting in full sun gets considerably hotter at the surface. Petroleum-based lubricants break down faster under that kind of heat. They also attract dust, which turns into grinding paste. Dry lubricants flash off. What works in Ohio doesn’t survive a Rialto August.
Here’s the schedule that works in the Inland Empire, based on what actually keeps Rialto gates moving smoothly:
- Silicone-based dry lubricant on hinge pins, roller bearings, and latch mechanisms: reapply every 4 months during the hot stretch (May through October) and every 6 months during cooler months (November through April). Silicone doesn’t attract dust the way oil-based products do, which matters in Rialto’s dry, dusty air.
- White lithium grease on operator chains and the threaded shaft of a linear actuator: every 6 months, no exceptions. If you hear the chain clicking or see metal dust accumulating at the sprocket, it’s already past due.
- Track cleaning on sliding gates: every 3 months during Santa Ana season and monsoon season both. Dust, leaf litter, and gravel accumulate in the V-track and cause the gate to bind. Vacuum or blow out the track, then apply a thin silicone film to the track surface.
- Never use WD-40 on gate components as a lubricant. It’s a solvent and water displacer, not a long-term lubricant. It’ll strip the remaining lubricant and leave the metal dry within days.
Here’s the sequence, step by step:
- Wipe down the hinge pin or roller axle with a clean rag to remove old lubricant and grit.
- Apply lubricant sparingly. You’re coating, not flooding. Excess attracts dust.
- Cycle the gate open and closed two or three times to work the lubricant into the bearing surface.
- Wipe away any excess. On a hot day, liquefied grease will run down the gate face if over-applied.
If your gate has a chain-drive operator, check chain tension while you’re at it. In Rialto’s heat, chains expand and contract daily. A chain that’s drum-tight at 7 AM may be slack at 3 PM. You want about a half-inch of deflection at the chain’s midpoint when cool. Too tight shortens sprocket and motor bearing life. Too loose causes the chain to jump teeth, which can strand the gate half-open. If you’re not comfortable adjusting it, this is a 20-minute fix for a technician who works on these systems daily. A specialist who knows LiftMaster, FAAC, and Mighty Mule operators can diagnose and adjust tension correctly the first time, because the spec varies by brand and model.
Checking Post Plumb and Gate Sag: The Five-Minute Task That Saves Thousands
The most expensive gate repair in Rialto isn’t an operator failure. It’s a gate that has sagged enough to break a weld, crack a post base, or destroy a roller assembly. The frustrating part is that sag is almost always detectable months before it becomes catastrophic. You just need to look for it.
Gate posts and gate frames move in response to three things: soil settling after winter rains, repeated thermal cycling of the metal, and the working load of the gate itself. A heavy ornamental or solid-panel gate is a lot of mass hanging on four weld points. If the posts tip even a degree out of plumb, the gate’s weight starts working as leverage, and leverage wins every time.
Here’s the five-minute check:
- Place a 4-foot level vertically against the gate post on the side the gate hangs from. The post should read plumb, or within an eighth of an inch of plumb over the full length.
- Place the level horizontally across the top rail of the gate while the gate is closed. It should be nearly level. A half-inch drop across the width of the gate is a warning sign.
- Lift the gate at the latch side. There should be almost no vertical play. Any movement over a quarter inch means hinge pins or hinge welds are wearing.
- On a sliding gate, look at the gap between the gate frame and the track. If the gate rides at a visible angle or the rollers chatter, the track or the roller trucks have shifted.
- Check the latch. If the latch and strike plate no longer line up without lifting or forcing the gate, the gate has sagged, even if your eye can’t see it.
What you’re checking is whether the gate’s weight is still carried by the hinges and posts the way it was designed to be. When that changes, every component is working harder than intended. That’s when welds crack and operators burn out. The failure appears sudden, but the warning signs were there for months.
The fix for a sagging gate in Rialto isn’t always a new gate. Often, it’s resetting a post, replacing hinge pins and bushings, and adding a proper tension truss or an anti-sag kit. This is a mechanical repair, not an electrical one, and it’s where a company that actually specializes in gate systems rather than general landscape or fencing work makes a measurable difference. If you catch the sag before a weld fails, the repair is measured in hundreds, not thousands. If you want to know what this kind of work involves, see the gate repair services we offer in Rialto.
Safe Electrical Checks for Electric Gate Owners
If your gate has an electric operator, maintaining the mechanical side is only half the job. The electrical side is where Rialto’s particular conditions show up in ways that aren’t obvious. The biggest issues we see are connection corrosion, wire chafing where low-voltage wire enters conduit, and receiver antennas that have been knocked out of position by wind or routine yard work.
A note on safety first. Electric gate operators run on low voltage for controls, but they also connect to household line voltage. Anything inside the operator housing beyond a visual inspection should be left to a trained professional. The checks below are all external and safe. Do not open a live control board enclosure or handle wiring if you aren’t qualified. A 120-volt shock or a miswired photo-eye is not worth the diagnostic fee you save.
Here’s what you can safely check:
- Corrosion at the battery terminals in operators that use a battery backup. Rialto’s heat shortens battery life, and corroded terminals cause intermittent failure that looks like a dead board. White or green powder on the terminals is corrosion. This is external and easy to see. Replacement is a technician’s job.
- Wire chafing at conduit entries. Anywhere a wire disappears into a conduit or the operator housing, look for insulation that’s cracked, brittle, or rubbed through. Rialto’s UV exposure makes low-voltage wire insulation brittle within a few years if it was exposed to sun. Chafed wires cause phantom problems: the gate works, then doesn’t, then works again.
- Receiver antenna position. The antenna on your operator is a thin wire, often zip-tied to a control box bracket. If it’s dangling, bent, or has been pushed inside the housing, your remote range drops. Straighten it and orient it vertically. Rialto’s flat terrain helps with line-of-sight, but a mispositioned antenna can cut range by half.
- Photo-eye alignment. The safety sensors at the gate opening should face each other directly. In Rialto’s heat, mounting brackets expand and shift slightly. If the gate reverses for no reason or won’t close at all, check whether the sensors have moved. A visible LED on the sensor face indicates alignment and power status.
Electric gate troubleshooting is where a generalist falls apart fast. A control board from an Elite operator fails differently than a Mighty Mule board, and the diagnostic path is different too. Brand-specific knowledge means the technician knows what to look for on a Viking or FAAC unit without guessing and replacing parts until something works. If you’ve got an electric gate that won’t respond, the best maintenance move is honest documentation and a diagnostic call. Electric gate repair in Rialto isn’t cheap when it involves boards and motors, but it’s a lot cheaper than replacing an operator that could have been saved.
What to Document and Photograph at Every Inspection
The single highest-value habit a Rialto homeowner can build is photographing the gate during maintenance. Here’s why. When you call a repair company and describe a symptom, the technician is making a best guess about what they’ll find. That guess determines what parts they bring, how long they allocate, and what the quote looks like. A photograph turns that guess into a diagnosis.
What to capture:
- Full gate photo, closed and open. This shows the gate type, the operator brand and model if visible, the track configuration, and the site layout.
- Close-up of the operator or motor housing, including any labels, model numbers, or brand markings. LiftMaster, FAAC, Mighty Mule, and Elite units all have different internals. The label narrows it down instantly.
- Hinge and roller close-ups. Photograph these from a few angles, especially if you noticed play or unusual wear.
- Any rust, flaking, or chalking you found during the UV inspection. A clear photo of Stage 2 micro-cracking tells a technician a lot about the gate’s remaining life.
- The control board or battery area if you have access and it’s safe to photograph without disconnecting anything. A clear shot of the board’s LED status lights and terminal connections is gold for remote diagnosis.
- A short video of the gate cycling if you’re experiencing noise, hesitation, or partial movement. Audio matters. A clicking sound versus a grinding sound versus a humming sound each point to a different component.
Store these photos on your phone in an album labeled with the date. Next time something goes wrong, you’ll send the album to the repair company before they dispatch. In our experience, a homeowner who sends photos and a short video before the visit gets a more accurate quote, a faster repair, and often a lower invoice because the technician arrives knowing exactly what to expect. That’s not a gimmick. That’s how diagnostics work.
Santa Ana Wind Preparation for Rialto Gates
Rialto sits in a path that catches Santa Ana winds sweeping through the Cajon Pass. When those winds blow, they hit gates with sustained lateral force that most maintenance checklists never account for. A gate that’s fine in calm weather becomes a sail in a Santa Ana event. The damage isn’t always immediate. Sometimes it’s cumulative: fasteners loosening, hinges developing play, posts shifting a fraction at a time. Then a big gust comes and finishes the job.
If you know a Santa Ana event is forecast (and in Rialto, you’ll know), here’s what to do:
- If your gate is electric, consider switching the operator to manual mode. Most operators have a manual release. A gate that can’t be mechanically forced by the wind is a gate that won’t strip gears. Not everyone does this, and that’s fine, but it’s the single best protection for an automatic system in high wind.
- Check that the gate is fully supported when closed. A swing gate should have a latch or drop rod that holds the latch side steady. If it doesn’t, the gate will flex and stress the hinge posts in wind.
- Clear the approach. Anything loose near the gate (trash cans, patio furniture, yard tools) becomes a projectile at 50 mph. A plastic bin slamming into a control box cracks it.
- After the wind event, re-check post plumb and hinge play. You’re looking for any change from your last baseline check. If something moved, it’ll show up here first.
Santa Ana winds also push fine dust and grit into every exposed mechanical surface. After a wind event, wipe down and re-lubricate hinges and track surfaces. It’s five extra minutes that keeps the grit from working its way into bearings.
A Seasonal Maintenance Rhythm That Works in the Inland Empire
Every gate maintenance schedule has to fit around the way people actually live. In Rialto, that means a spring check before the summer heat, a fall check before the wind season, and two quick touch-ups in between. Here’s what that looks like on a real calendar:
March (Pre-Summer Check)
- Full UV inspection: look for chalking, cracking, and rust bloom.
- Lubricate hinges, rollers, and operator chains.
- Check post plumb and gate sag.
- Test the auto-reverse and photo-eye function on electric gates.
- Photograph everything.
July (Mid-Summer Quick Check)
- Re-lubricate hinges and track surfaces (silicone).
- Check for excessive heat on the operator housing. If it’s too hot to hold your hand on, the motor is working harder than it should be. Note it.
- Re-check gate sag. Summer heat causes the most thermal movement of metal.
October (Pre-Santa Ana Check)
- Full inspection again: UV, plumb, sag, hinge play.
- Lubricate everything before wind season starts.
- Clear the gate path of loose objects.
- Test manual release on electric operators.
- Photograph everything and compare to spring photos.
December (Cool Season Touch-Up)
- Check for water-related issues after the first rains. Rialto gets less rain than the coast, but when it does rain, poor drainage at the gate base causes post settling.
- Re-lubricate track surfaces and any exposed chain.
- Test the gate’s full cycle manually and powered.
That’s four sessions a year, each under twenty minutes for a standard single swing gate. If you don’t want to do this yourself, a professional maintenance visit in Rialto covers all of the above and includes a written report. For repairs or new installation work, gate installation in Rialto is handled by the same team, and a properly installed gate always maintains better than a retrofit.
Common Mistakes to Avoid
- Waiting until the gate fails to do anything. By the time a gate won’t open, the damage has usually been building for months. The repair is always more expensive than the maintenance that would have prevented it.
- Using WD-40 as a lubricant. It’s a solvent. It removes lubrication more than it adds any. Use a proper silicone or lithium product.
- Ignoring a noisy gate. A gate that squeaks, grinds, or chatters is telling you something specific. The noise is a diagnostic, not an annoyance. The longer it runs noisy, the more wear accumulates.
- Skipping the manual release test. Electric gate operators need regular exercise and a confirmed manual release. If you’ve never tested the manual release, the first time you need it during a power outage won’t be the time to learn.
- Painting over rust without treating it. A fresh coat of paint over active rust looks fine for a season. Then it bubbles and the metal underneath is worse than before. You have to remove or treat the rust first.
- Using the wrong lubricant or the wrong amount. More isn’t better. Over-lubricating in Rialto’s dust means a sticky, grinding paste forms in the hinges and track. Apply sparingly and wipe away excess.
- Assuming a sagging gate is a lost cause. Many homeowners assume a sag must mean a new gate. Frequently, the fix is a post reset and new hinge hardware. The assumption costs thousands unnecessarily.
See the difference
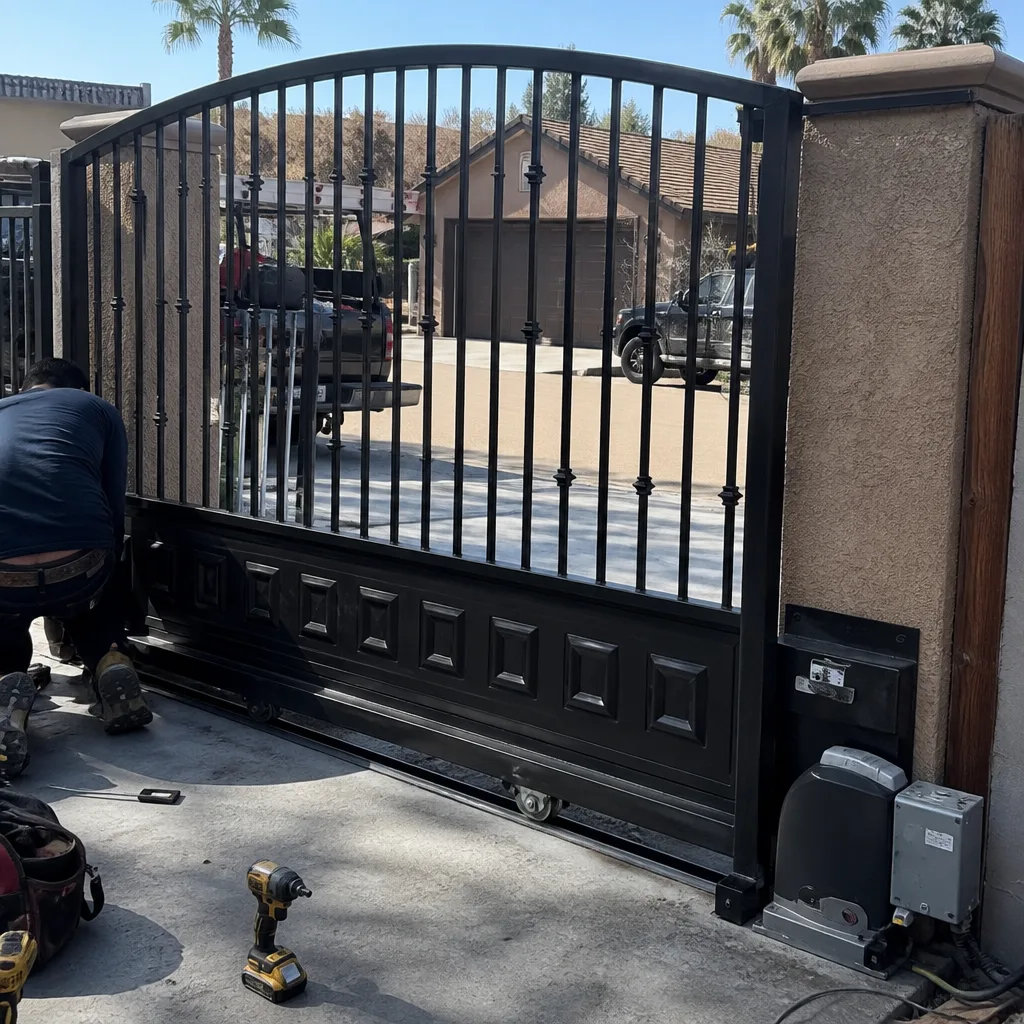
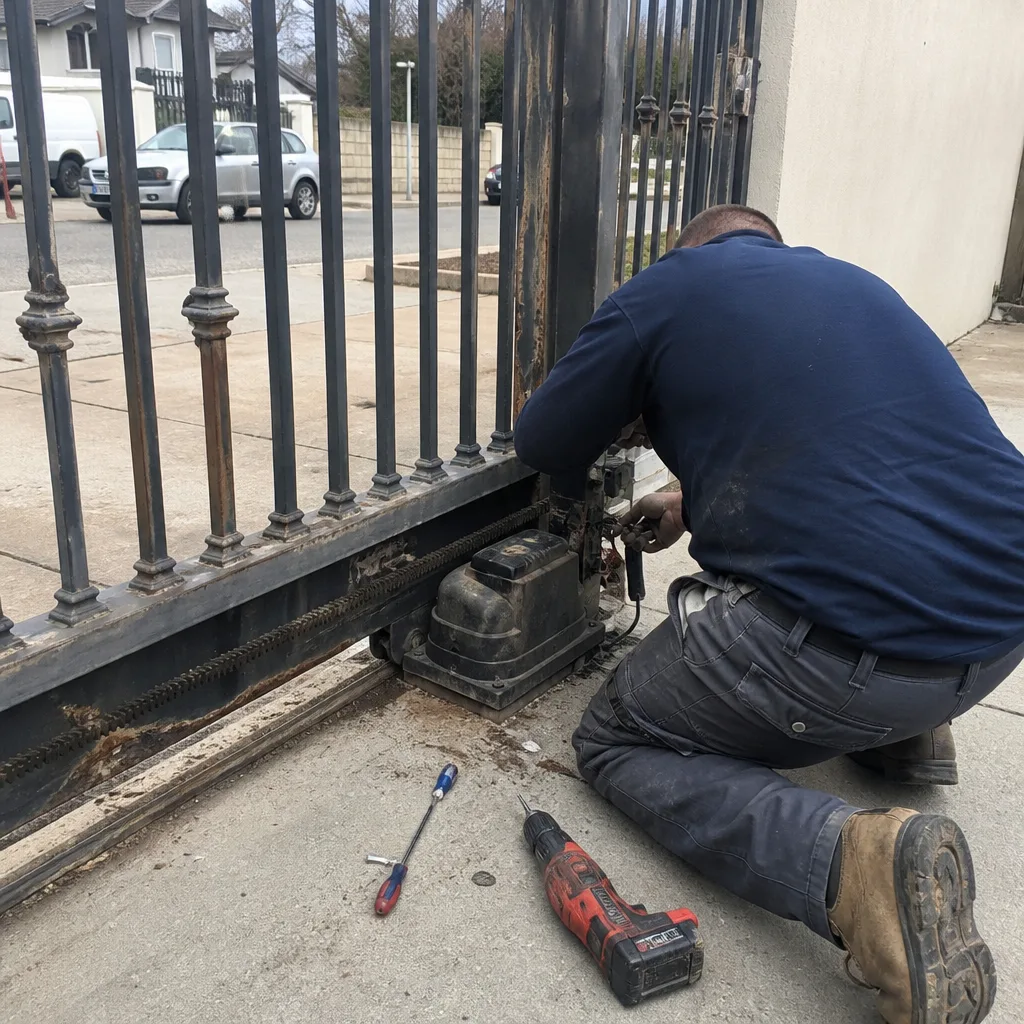 Before
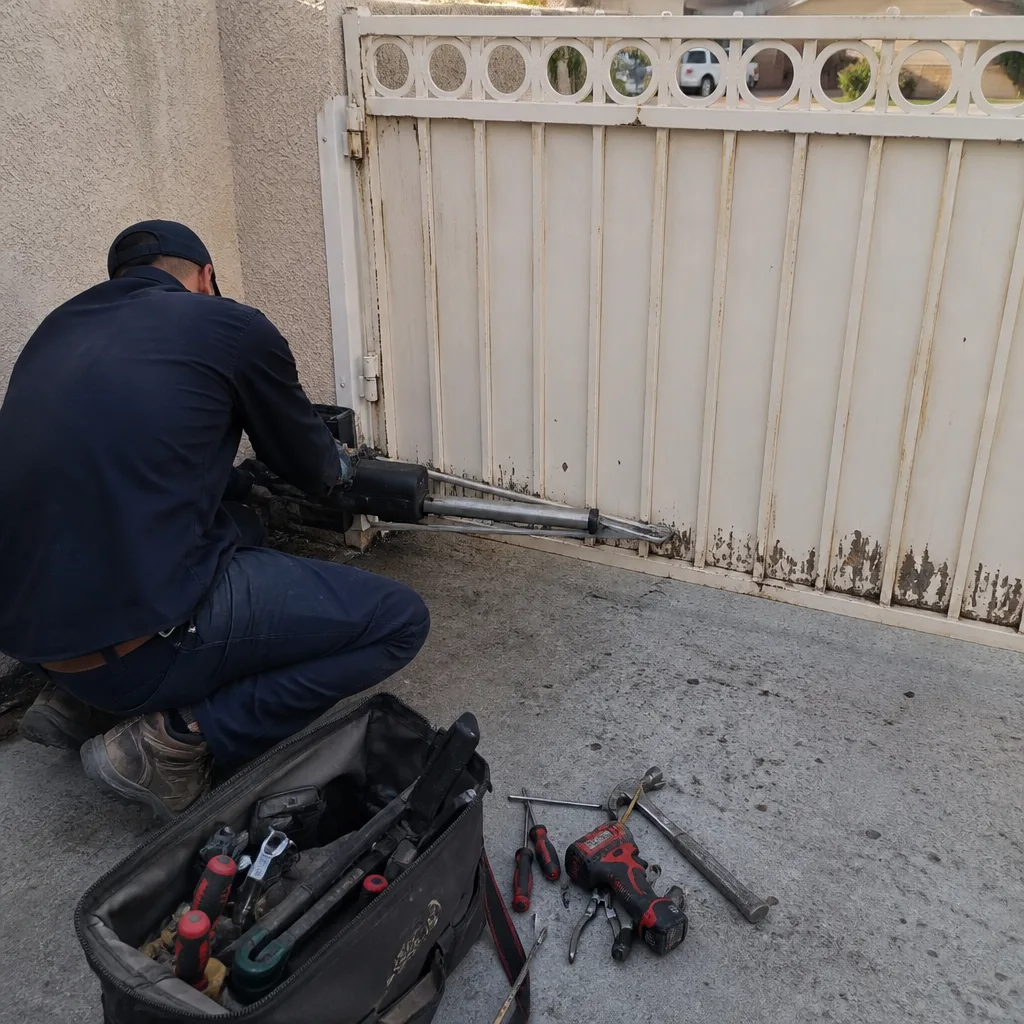
 After
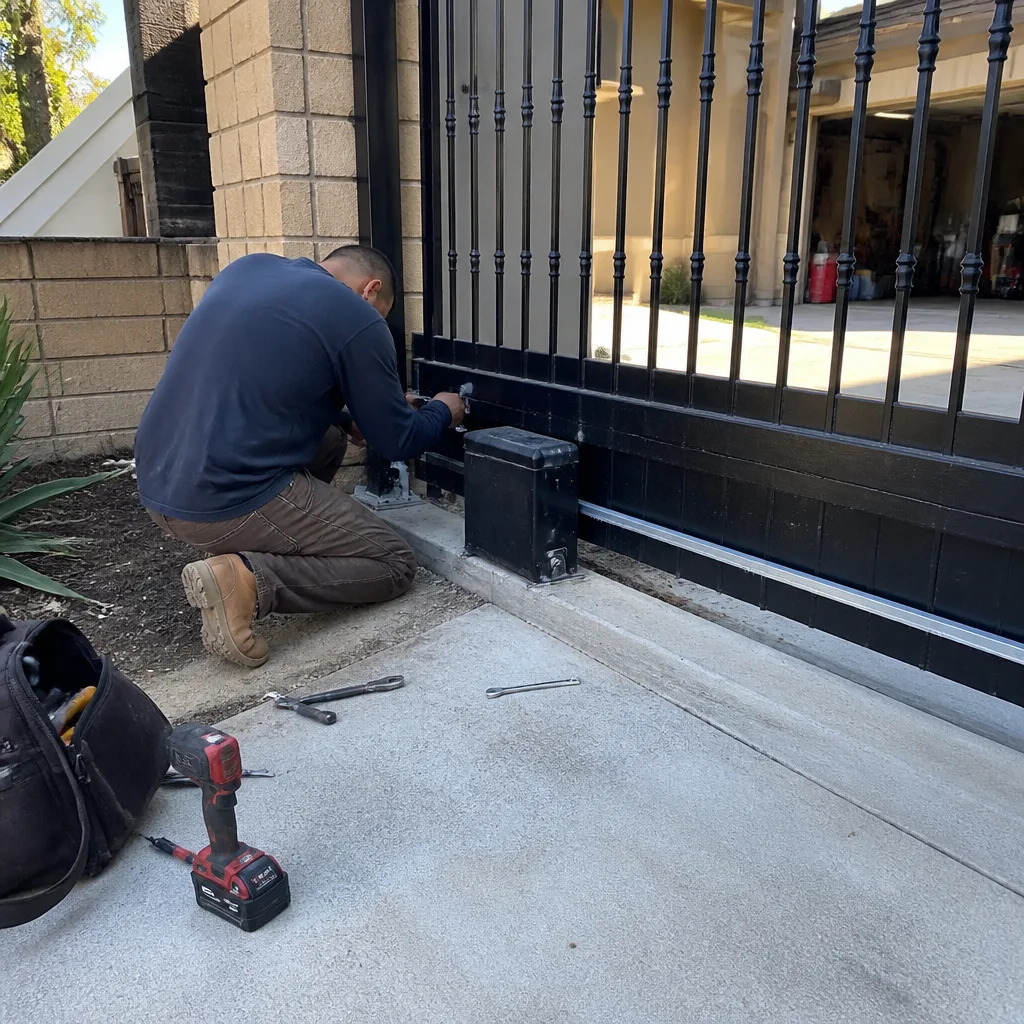
 Before
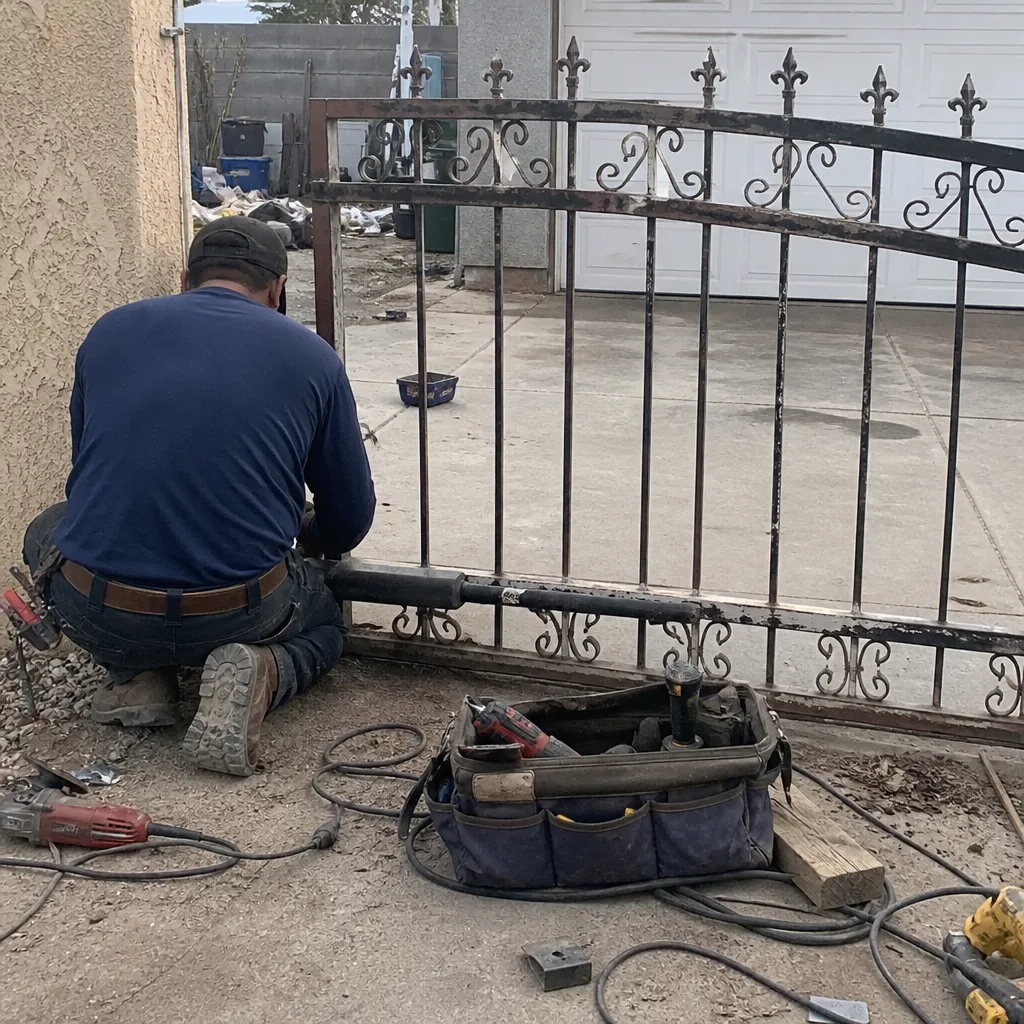
 After
 Before
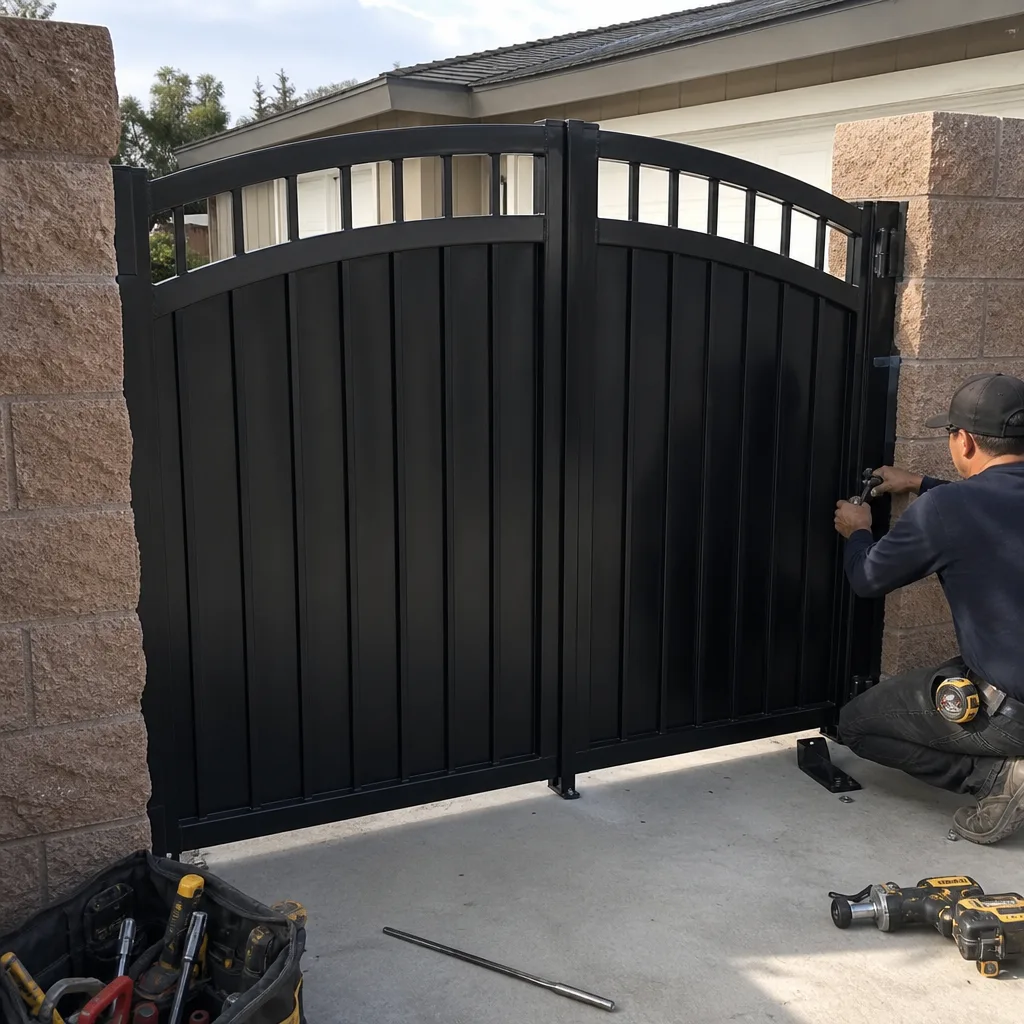 After
When to Call a Professional
Some gate maintenance tasks are legitimately DIY. Others aren’t, and knowing the line is part of responsible ownership. Call a professional if you find a broken weld, a cracked post base, a gate that has sagged more than a half-inch at the latch side, an operator that hums but won’t move, a control board with visible scorching or melted wire insulation, or a gate that trips its breaker repeatedly. These are structural or electrical failures that require diagnostic skill and the right tools, and a bad guess with a welder or a voltmeter makes the problem worse. Gate Repair Rialto offers free estimates in Rialto. Call (866) 569-6584 and we’ll tell you honestly whether it’s a five-minute fix or a bigger job.
Start with the Gate Repair Rialto home resource center if you’re not sure what category your issue falls into, or jump directly to our Rialto gate repair guide for the complete service breakdown.
Frequently Asked Questions
Lubricate hinge pins, roller bearings, and latch mechanisms with a silicone-based dry lubricant every 4 months from May through October and every 6 months from November through April. Rialto’s summer heat breaks down lubricants faster than national guidelines assume, so the schedule shifts with temperature rather than calendar dates.
The cost depends on what has actually failed. Replacing worn hinge pins and bushings usually runs a few hundred dollars. Resetting a post that has shifted costs more because it involves excavation and concrete work. If a weld has broken because the sag went unaddressed, expect to pay significantly more. The earlier you catch it, the cheaper the fix. Call us for a free estimate and an honest assessment before you assume the worst.
The external checks in this guide are safe for homeowners: corrosion at battery terminals, wire chafing at conduit entries, antenna position, and photo-eye alignment. Anything beyond a visual inspection inside the operator housing or control board should be left to a professional. Electric gate repair involves line voltage and brand-specific control boards. A wrong move is dangerous and expensive.
Run a dry fingertip across the gate surface. If colored dust comes off on your finger, that’s Stage 1 chalking. Look for hairlike cracks on the top rail: that’s Stage 2 micro-cracking. Flaking coating with rust underneath is Stage 3, and it needs professional treatment. Rialto’s UV exposure means south and west faces fail two to three years earlier than shaded faces. Touch up paint at Stage 1 and you’ll save a full repaint later.
Switch the operator to manual mode if your gate is electric. Confirm the gate has a working latch or drop rod at the closed position. Clear anything loose from the gate approach. After the wind passes, re-check post plumb and hinge play against your last baseline. Santa Ana events also push fine grit into hinges and tracks, so re-lubricate after the wind dies down.
Yes. We service Mighty Mule, LiftMaster, FAAC, Elite, and every other major gate operator brand installed in Rialto. Brand-specific knowledge means we diagnose correctly the first time rather than swapping parts on a hunch. If you’re troubleshooting an operator that won’t respond, call us before replacing it. Many dead boards are actually a $30 sensor or a corroded connection.
The Bottom Line
Rialto gates fail from sun, heat, dust, and wind more than from rain or cold. A maintenance checklist that works here has to account for those specific forces. The core tasks are simple: inspect for UV damage twice a year, lubricate on a temperature-based schedule, check post plumb and gate sag with a level, document everything with photos, and prepare for Santa Ana events before they arrive. Four short sessions a year will prevent the vast majority of expensive gate failures. When something is beyond a homeowner’s wheelhouse, a specialist who works on gates exclusively is the difference between a quick fix and a long, expensive guessing game.
Written by the team at Gate Repair Rialto, serving Rialto since 2013.