
Last updated November 2, 2026
 Wrought iron
 Wood & steel frame
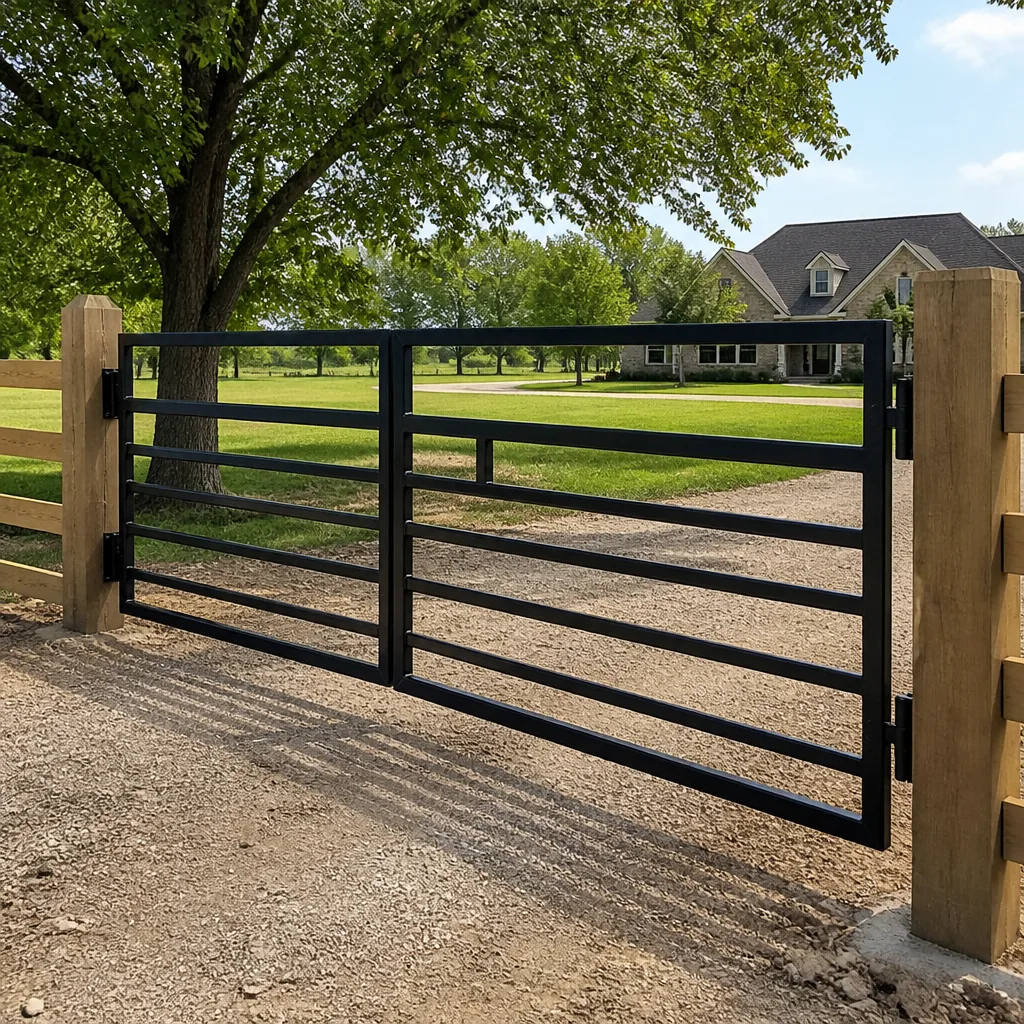 Farm & ranch
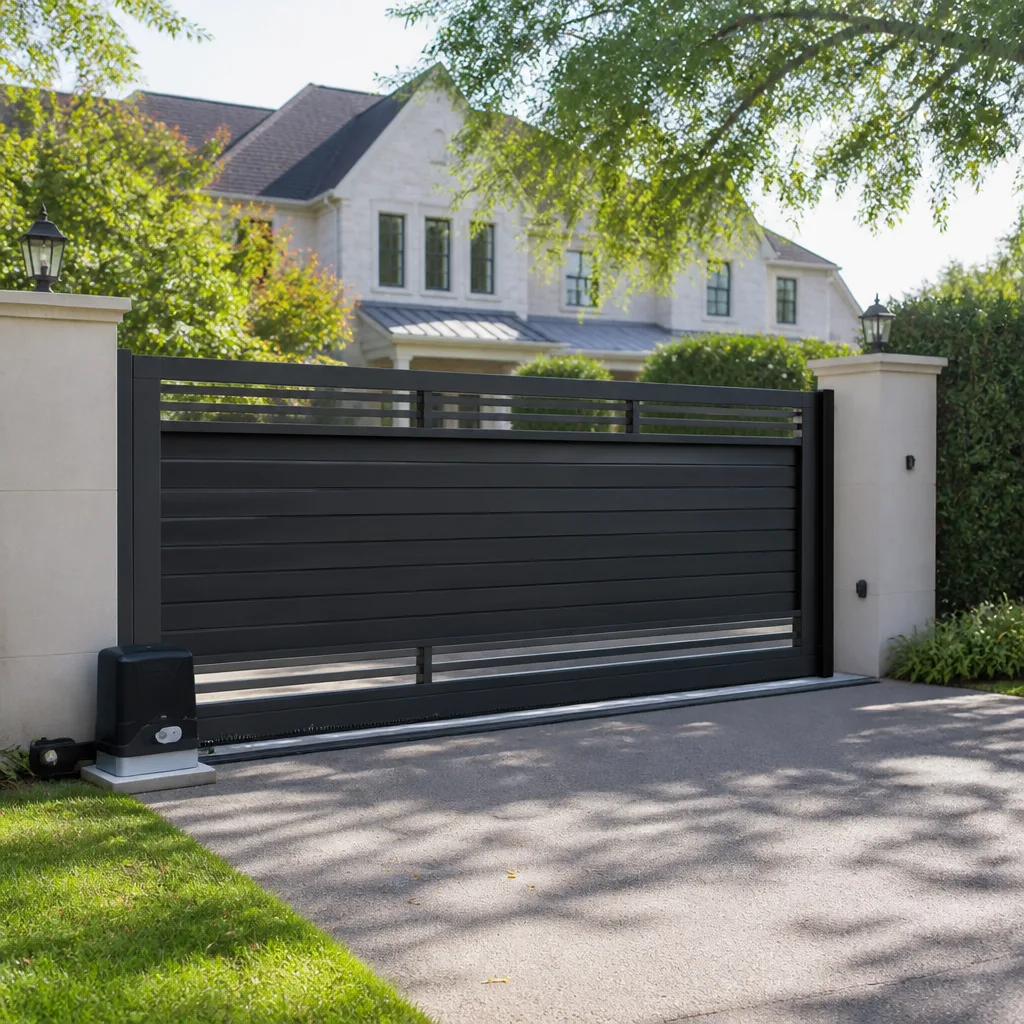 Sliding driveway gates
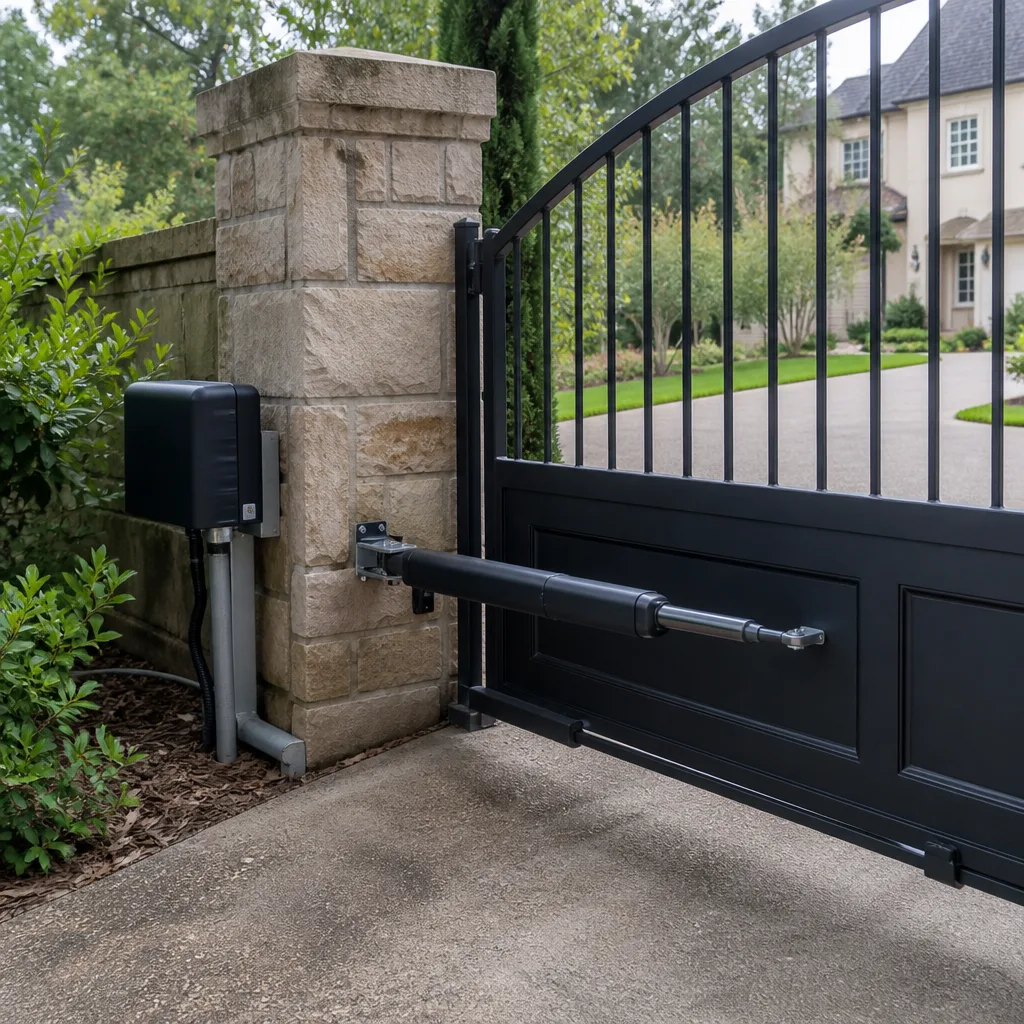 LiftMaster operators
Free on-site gate assessment - hinges, posts, and your LiftMaster or Nice gate operator checked before anything is quoted
The assessment is free and the quote is the invoice.
Get your free estimateGate Repair Troubleshooting: Common Problems and How to Fix Them
The most expensive mistake in gate repair isn’t a failed motor or a snapped chain. It’s replacing a $400 operator because nobody took five minutes to check whether a $12 photo-eye got knocked out of alignment by a sprinkler head. We see this constantly in Rialto, where hard water, wind-blown debris, and daily temperature swings create conditions that mimic major failures. This guide, along with our Gate Repair Warning Signs: A Rialto Homeowner’s Reference Guide, teaches you how to distinguish between a mechanical failure, a sensor fault, and a programming error using a layered diagnostic sequence. By the end, you’ll know which problems you can safely test yourself, which ones require a trained technician, and how to capture intermittent faults so they don’t get dismissed as “nothing wrong.”
Styles & brands we work with
- Wrought iron
- Wood & steel frame
- Farm & ranch
- Sliding driveway gates
- LiftMaster operators
Quick Answer
Gate repair troubleshooting starts with a four-layer diagnostic sequence: power, signal, mechanical, then control board. Most “dead gate” symptoms in Rialto trace back to tripped GFCI outlets, misaligned photo-eyes, or obstruction-detection faults rather than actual motor failure. Before calling a technician, test your manual release, check your breaker, and inspect your safety sensors, because these three checks resolve roughly 60% of residential gate service calls we see.
Table of Contents
- The Diagnostic Sequence: Power, Signal, Mechanical, Control Board
- Gate Won’t Open: Five Causes and How to Narrow Them Down
- Electric Gate Won’t Respond at All: Where to Look First
- Obstruction Detection vs. Limit Switch vs. Motor Torque Loss
- Reading LED Error Codes: LiftMaster, DoorKing, and Linear
- Why Intermittent Failures Are Harder to Diagnose Than Complete Failures
- Safe DIY Checks That Won’t Void Your Warranty
- Common Mistakes to Avoid
- When to Call a Professional
- Frequently Asked Questions
- The Bottom Line
The Diagnostic Sequence: Power, Signal, Mechanical, Control Board
Most troubleshooting guides jump straight to symptoms: “gate won’t open,” “gate reverses,” “gate makes grinding noise.” That’s backwards. Symptoms tell you what hurts. The diagnostic sequence tells you where to look. We’ve spent years refining a four-layer approach that eliminates guessing and prevents expensive misdiagnosis. The order matters because each layer is cheaper and faster to check than the one after it, and because a fault in an earlier layer often masquerades as a fault in a later one.
Layer 1: Power
Every electric gate system in Rialto runs on either 110V household current, low-voltage DC from a transformer, or solar with battery backup. Before you touch anything else, confirm the operator has power. A tripped GFCI outlet, a flipped breaker, a disconnected transformer, or a depleted solar battery will produce the exact same symptom as a dead control board. In our experience, power faults account for about one in four “dead gate” calls. The fix is often a $0 breaker reset, not a $600 board replacement.
Layer 2: Signal
The photo-eyes, loop detectors, edge sensors, keypads, and remote receivers all feed signals into the control board. If the board isn’t receiving the right signal, it behaves erratically. Misaligned photo-eyes cause gates to refuse to close or to reverse mid-cycle. A failing loop detector causes the gate to open for cars but not close for them, or vice versa. Signal faults are the single most common cause of “intermittent” gate behavior in our service area, especially after heavy Rialto windstorms shift sensor brackets.
Layer 3: Mechanical
Hinges, rollers, tracks, chains, belts, and the gate leaf itself. A gate that’s sagging, dragging on the driveway, or binding on a bent hinge forces the motor to work harder. Eventually the operator’s torque limiter trips, or the motor burns out. But the root cause is mechanical. We’ve replaced operators that failed because a concrete driveway heaved in summer heat and the gate had been scraping for months. Fix the hinge or level the gate, and the motor works fine.
Layer 4: Control Board
The control board is the brain. Boards fail from power surges, water intrusion, insect nests, or age. But boards are also the most commonly misdiagnosed component. If layers 1-3 are clear and the board still won’t respond, then you’re looking at a board issue. At Gate Repair Rialto, our Gate Repair services include years of brand-specific training across LiftMaster, FAAC, BFT, Linear, Viking, Ghost Controls, DoorKing, Elite, and Mighty Mule, so we know each manufacturer’s board has distinct failure patterns. A Linear board that works intermittently in cold weather is usually a capacitor issue. A DoorKing board with no LED activity is often a transformer failure upstream. Knowing these patterns means we don’t replace boards that aren’t broken.
This sequence is why electric gate repair in Rialto should always start with diagnosis, not part-swapping. If a technician opens with “you need a new motor” without checking power, signal, and mechanical layers first, you’re probably paying for someone else’s shortcut.
Gate Won’t Open: Five Causes and How to Narrow Them Down
A gate that won’t open is the most common service call we get. The frustration is real: you’re late for work, blocked in, and your remote does nothing. Here’s how to narrow down the cause in about ten minutes, in order of likelihood.
- Power interruption: Check the outlet the operator plugs into. In Rialto, outdoor GFCI outlets trip during rain, morning irrigation, or even heavy dew. Press the reset button on the GFCI. Check your breaker panel. If the operator has a battery backup, it may have depleted.
- Remote or keypad failure: Try the manual push-button on the operator itself if it has one, or the hardwired keypad. If the hardwired button works but the remote doesn’t, it’s a transmitter issue: dead remote battery, lost programming, or a receiver board fault.
- Manual release engaged: If someone pulled the manual release cord during a power outage or for testing, the gate disconnects from the motor. The operator will hum or click but the gate won’t move. Reset the release lever per your operator’s manual.
- Photo-eye obstruction or misalignment: Photo-eyes prevent the gate from opening if they detect an object in the path, though most systems only block closing. Some high-safety modes block both directions. Check for debris, spider webs, or sprinkler spray hitting the lens.
- Limit switch or travel module fault: If the gate opens a few inches and stops, or opens partially and reverses, the limit settings may have drifted or the limit switch may be worn. This requires a technician with brand-specific diagnostic tools.
If you’ve worked through all five and the gate still won’t move, it’s time to call a gate specialist. Gate repair in Rialto from our team starts with the same sequence you just worked through, but with diagnostic tools that pinpoint the fault in minutes.
Electric Gate Won’t Respond at All: Where to Look First
Complete non-response, meaning no hum, no click, no LED, no movement, is actually easier to diagnose than intermittent behavior. Something in the power chain has failed completely. Here’s the order we follow.
Step 1: Confirm Outlet Power
Plug something else into the outlet. A lamp, a phone charger, anything. If the outlet is dead, test the GFCI reset and the circuit breaker. Rialto homes built after 1990 typically have outdoor outlets on GFCI circuits, and these trip more often than people expect. We’ve resolved dozens of “dead gate” calls by resetting a GFCI that nobody knew existed. If the outlet is live but the operator is dead, move to step 2.
Step 2: Check the Transformer
Most residential operators run on 24V DC supplied by a transformer. The transformer plugs into the outlet and steps voltage down. Transformers fail from heat exposure, water intrusion, or age. Test with a multimeter if you’re comfortable. Otherwise, look for obvious signs: scorching, melted plastic, or a burning smell. A dead transformer is a $40-$80 part, not a catastrophic repair.
Step 3: Inspect the Control Board LEDs
Most modern boards have diagnostic LEDs. LiftMaster boards typically show a solid green power LED when healthy. DoorKing boards have power and status LEDs. Linear boards often flash patterns that correspond to specific faults. If no LEDs illuminate and power is confirmed at the transformer output, the board itself has failed or the wiring between transformer and board is compromised.
Step 4: Battery Backup Systems
If your gate has a battery backup, especially common on Viking and Ghost Controls solar systems, the battery may be fully depleted and the charging circuit may have failed. Solar systems in Rialto get plenty of sun, but batteries degrade over 3-5 years. A dead battery combined with a failed charging board creates a completely unresponsive gate.
Complete non-response is a safety issue as much as a convenience issue. If you can’t get the gate to respond through the manual release and basic power checks, give us a call. We carry board-level diagnostic equipment for Linear, Viking, Ghost Controls, and DoorKing systems, so we’re not guessing.
Obstruction Detection vs. Limit Switch vs. Motor Torque Loss
Three different problems produce one identical symptom: the gate starts moving, then stops and reverses. The repair cost ranges from zero dollars (clean the photo-eye lens) to over a thousand (replace a burned-out motor). Here’s how to tell them apart.
Obstruction Detection: The Gate Reverses Every Time at the Same Point
If the gate reverses at roughly the same spot every cycle, something is triggering the obstruction sensor. This could be a physical object (a rock, a plant, a child’s toy), a misaligned photo-eye, or a dirty lens. Photo-eyes need a clear line of sight between transmitter and receiver. Dust, spider webs, sprinkler overspray, and Rialto’s fine wind-blown dirt all cause false obstruction readings. Clean both lenses with a dry cloth and check alignment. If the problem persists, the photo-eye itself may be failing and sending intermittent signal dropouts.
Limit Switch Fault: The Gate Stops Short or Over-travels
Limit switches tell the operator where the gate’s open and closed positions are. Mechanical limit switches wear out over time. When a limit switch fails, the gate typically stops in the wrong position: it stops short of fully open, or it slams into the post and reverses because it doesn’t know it reached the limit. If your gate’s stopping point has been gradually drifting, or if it opens fully but then immediately reverses without closing, suspect the limit switch or travel module. This is a repair we handle regularly on DoorKing and LiftMaster operators in the Rialto area. It requires opening the operator housing and adjusting or replacing the switch. If you’re not comfortable working near an open operator with live connections, don’t attempt this yourself.
Motor Torque Loss: The Gate Slows Down, Grinds, or Moves Only with Help
When a motor loses torque, it can’t overcome the gate’s weight or mechanical resistance. Symptoms build gradually: the gate moves slower than it used to, it hesitates, it stops partway and won’t restart without waiting, or it reverses after straining for a few seconds. Torque loss usually traces back to one of two causes. First, mechanical: worn hinges, a sagging gate, debris in the track, or a failing gearbox forcing the motor to work harder. Second, electrical: a failing run capacitor, worn motor brushes, or degraded windings. A gate that moves fine when pushed manually but struggles under motor power points to the motor or capacitor. A gate that’s hard to move manually points to mechanical drag. This distinction saves hours of diagnostic time and hundreds of dollars in unnecessary parts.
Here’s the quick test table we use:
| Symptom | Likely Cause | Approximate Repair Cost |
|---|---|---|
| Reverses at same spot every time, gate moves fine manually | Photo-eye obstruction or misalignment | $0-$120 |
| Stops short or over-travels, position drifts | Limit switch or travel module | $80-$250 |
| Slows down, grinds, needs help to move | Mechanical drag or motor torque loss | $200-$1,200+ |
The price is quoted and agreed before any work starts, so there are no surprises after the repair.
Reading LED Error Codes: LiftMaster, DoorKing, and Linear
Understanding your gate operator’s LED signals turns you from a frustrated homeowner into an informed caller, even if you don’t plan to repair anything yourself. When you can tell us “the board is flashing three times, pause, three times,” we can often diagnose the problem over the phone and arrive with the right part. Here are the patterns we most commonly interpret on Rialto properties.
LiftMaster Gate Operators
LiftMaster residential gate operators (common on Rialto driveway gates) use a diagnostic LED that flashes in patterns. A solid green LED means power is good and the board is functioning. One flash, pause, repeat typically indicates a photo-eye obstruction or misalignment. Two flashes usually signal a force reversal, meaning the gate encountered resistance and reversed for safety. Three flashes often indicate a limit switch error: the board can’t confirm the gate reached its expected position. Four flashes commonly indicate a wiring fault in the safety circuit, which could be a damaged wire, a failed photo-eye, or a bad edge sensor. If your LiftMaster is flashing anything other than solid green, write down the pattern before calling. It saves a trip.
DoorKing Gate Operators
DoorKing boards use multiple LEDs for different circuits. The power LED should be solid. The loop detector LEDs will flash when a vehicle passes over the loop. The limit LEDs illuminate when the gate reaches open or closed limit. If the power LED is off, the transformer or board power circuit has failed. If a limit LED stays lit when the gate isn’t at the limit, the limit switch is stuck or the wiring is shorted. DoorKing operators widely used on Rialto apartment and commercial properties often exhibit what we call “ghost opening” when the loop detector sees phantom signals, typically from a failing loop wire or a detector sensitivity set too high. A DoorKing gate that opens on its own in the middle of the night is almost always a loop detector issue, not a security breach.
Linear Gate Operators
Linear (and their APC and LDO lines) use LED indicators on the control board for power, radio, and limit status. The power LED should be steady. A blinking power LED indicates a fault condition. Linear boards often flash error codes after a safety reversal: the gate reversed because the force sensor tripped. Reset by clearing the obstruction and cycling the gate. If the board shows a constant rapid blink, that’s usually a failed board relay or a shorted accessory wire. In our experience with Linear operators on Rialto estate properties, intermittent rapid blinking frequently traces back to moisture in the junction box from sprinkler overspray or a compromised conduit seal.
If you’re reading this while standing at your gate with a flashlight, note the brand, the LED color, and the flash pattern. Call us at (866) 569-6584 and share what you see. That single detail often lets us diagnose the problem before we dispatch a truck.
Why Intermittent Failures Are Harder to Diagnose Than Complete Failures
A gate that fails completely is a puzzle with a clearly missing piece. A gate that fails occasionally is a puzzle where the piece is only missing some of the time. That’s why intermittent failures frustrate homeowners and technicians alike. In Rialto’s climate, intermittent gate failures have a predictable set of triggers.
The Usual Suspects
Temperature changes are the most overlooked cause. Rialto summer days exceed 100 degrees and winter nights drop into the 30s. Metal expands and contracts, circuit boards flex micro-millimeters, solder joints crack, and components that worked at 2 PM fail at 2 AM. A thermal intermittent failure is a real thing: the gate works all day, then fails when the temperature drops. That’s often a failing capacitor or a compromised solder joint on a control board.
Moisture is the second big trigger. Morning dew, sprinkler overspray, or the tail end of a Santa Ana wind rain event introduces moisture into junction boxes, photo-eye housings, and operator enclosures. The moisture causes a short that clears once everything dries out. The gate works again by afternoon, and the homeowner thinks it fixed itself. It didn’t. It’s waiting to fail again, usually at the worst possible moment.
Vibration and wind are the third trigger. A loose wire, a corroded connector, or a photo-eye bracket that shifts in the wind will make and break contact intermittently. The gate fails only when the wind blows from a certain direction, or only when a heavy truck passes and shakes the ground.
How to Capture an Intermittent Fault on Video
The single most useful thing you can do for an intermittent gate is prove it happens. Set your phone to record video before you cycle the gate, every time, for a week. Capture the gate’s full cycle, the operator housing, and the photo-eyes if visible. When the gate fails, keep recording and narrate what you observed: “It stopped halfway, reversed, and the LED is flashing twice.” A 30-second video of the actual failure does more than a written description ever could. When we arrive for a gate repair in Rialto, that video lets us skip straight to the likely fault instead of spending an hour trying to reproduce a problem that won’t reproduce on demand.
One more note: don’t disconnect the power or reset the breaker after an intermittent failure unless you have to. The fault codes stored in the control board’s memory are often still retrievable, and resetting the system wipes them. Document first, reset second.
Safe DIY Checks That Won’t Void Your Warranty
Most gate manufacturers honor warranties as long as the operator hasn’t been opened, modified, or deliberately abused. That gives you room to perform several useful checks without risking your warranty coverage or your safety. Here’s what we tell Rialto homeowners is safe to test on their own.
Manual Release Test
The manual release disengages the motor so you can move the gate by hand. This test tells you whether the problem is mechanical or electrical. If the gate moves easily by hand, the mechanical system is fine and the fault is electrical or signal-related. If the gate is difficult or impossible to move by hand, you have a mechanical problem: a seized hinge, a broken wheel, a bent track, or a gate that’s sagging onto the ground. Don’t force a gate that resists movement. Forcing it can bend the gate frame or damage the operator’s gearbox.
Photo-Eye Obstacle Test
With the gate in motion, break the photo-eye beam with your hand or a piece of cardboard. The gate should stop and reverse immediately. If it doesn’t, the photo-eyes are either misaligned, disconnected, or bypassed. A gate that closes through an obstruction is a serious safety hazard, especially for homes with children or pets. Test this monthly. If your gate fails this test, stop using it automatically and call for repair.
Loop Detector Bypass Observation
Watch how the gate responds to vehicles versus pedestrians, remotes versus keypads. If the gate opens reliably with the remote but not when a car pulls up to the loop detector, you’ve isolated the problem to the loop circuit. That’s useful diagnostic information. You don’t need to fix it yourself; you just need to observe and report the pattern.
Visual Inspection
Walk the full length of the gate and track. Look for debris in the track, vegetation blocking the photo-eyes, loose bolts on hinges, sagging gate leaves, or wear on the chain or belt. Many problems are visible if you look. Don’t reach into the operator housing or attempt to adjust anything under tension. High-tension springs, counterweights, and moving gates can cause serious injury if mishandled. If you see something loose or worn, note it and call a professional for the actual repair.
These checks are safe, warranty-friendly, and genuinely useful. They also make you a better-informed customer when you call us. The more you can tell us about what you observed, the faster we can get your gate working.
Common Mistakes to Avoid
- Replacing the motor before checking the sensors. We’ve seen homeowners and even some technicians condemn a perfectly good motor because a misaligned photo-eye was blocking operation. The motor wasn’t broken; the safety circuit was. Start with the cheap stuff.
- Resetting the operator before documenting the fault. Cycling power clears stored error codes. If you reset everything before calling a technician, you erase the evidence. Take a photo or video of the LED pattern first.
- Lubricating everything with WD-40. WD-40 is a solvent, not a lubricant. On gate chains and bearings it attracts dirt and accelerates wear. Use a proper lithium-based grease for chains and a silicone spray for rollers and hinges. If in doubt, don’t lubricate at all until you’ve confirmed what the manufacturer recommends.
- Adjusting force and limit settings by feel. Increasing the force setting to “fix” a gate that’s struggling masks the underlying problem. You’re now forcing a motor to fight against something it shouldn’t have to fight. The gate fails worse later, often at the worst possible time.
- Ignoring the manual release position. A surprising number of “broken gate” calls turn out to be a manual release that was left disengaged. Check the release lever before calling anyone. It’s the gate equivalent of “is it plugged in.”
- Attempting spring and counterweight repairs without training. Gate springs, torsion bars, and counterweights are under extreme tension. A spring that lets go can seriously injure or kill. If you see a broken spring or a gate that slams shut when released, step away and call a professional.
- Dismissing intermittent failures as flukes. A gate that fails once and then works for a week hasn’t healed. It’s waiting. Intermittent problems always become permanent problems eventually. Address them early while the repair is still small.
When to Call a Professional
Some gate problems you can identify yourself. Few you should repair yourself. Call a gate specialist when you see a broken or detached spring, when the gate slams shut or swings freely, when you smell burning from the operator, when the control board shows error codes you don’t understand, when the gate fails the photo-eye safety test, or when the problem resists all the basic checks in this guide. Electric gate systems combine household voltage, low-voltage electronics, and moving metal under tension. That’s three hazards overlapping. A trained technician who works on gates exclusively, not as a side service, has the tools and the brand knowledge to fix the problem correctly the first time. Gate Repair Rialto offers free estimates in Rialto, and our team works exclusively on gates, from the motor to the hinge. Call (866) 569-6584 to schedule a service call or visit our Gate Repair Rialto home page to learn more about our approach.
Frequently Asked Questions
Most residential gate repairs in Rialto fall between $150 and $600 depending on the component. Photo-eye realignment or replacement runs $80-$200. Limit switch replacement runs $80-$250. Control board replacement runs $300-$900 depending on brand. Motor replacement runs $400-$1,200. The price is quoted and agreed before any work starts, and your estimate is free. Call (866) 569-6584 for an exact quote.
For emergency situations like a gate stuck open or a gate that won’t close, we prioritize same-day response in Rialto whenever possible. For non-emergency repairs and scheduled maintenance, we’ll set the earliest available appointment. Call us with your symptom and we’ll tell you honestly whether it’s urgent.
We service LiftMaster, FAAC, BFT, Linear, Viking, Ghost Controls, DoorKing, Elite, and Mighty Mule. If your operator is from another manufacturer, we can often still help, since gate control technology is broadly similar across brands. The advantage of our nine-brand certification is that we know the specific failure patterns and part requirements for each system, so diagnosis is faster and repairs last.
Yes. Manual release tests, photo-eye obstacle tests, visual inspections, and documenting LED error codes don’t void manufacturer warranties. Opening the operator housing, modifying wiring, or adjusting internal components might. When in doubt, observe and call. We’ll tell you what’s safe to check before we arrive.
Intermittent gate failures in Rialto usually trace back to temperature swings, moisture intrusion, or loose connections affected by wind and vibration. Thermal expansion, morning dew, sprinkler overspray, and corroded wire nuts are common culprits. Capture the failure on video with the LED pattern visible, and don’t reset the system before a technician sees it.
Yes. We repair manual swing and slide gates, including hinge replacement, welding, track repair, and gate leaf realignment. We also handle everything on the electric side: motors, control boards, photo-eyes, loop detectors, keypads, and battery backups. And for gates beyond repair or new construction, we offer gate installation in Rialto. Whatever your gate needs, we’re the team to call.
The Bottom Line
Gate troubleshooting is a discipline, not a guessing game. The four-layer sequence of power, signal, mechanical, and control board eliminates the most common and most expensive misdiagnosis: blaming the motor when a sensor or a breaker is the real problem. Systematic elimination saves you money and keeps a small problem from becoming a big one. Document what you see, test what’s safe to test, and leave the high-tension and high-voltage work to someone who does gates for a living. Most gate problems in Rialto are repairable the same visit when they’re properly diagnosed. If your gate is acting up, start with this guide, then call (866) 569-6584 and tell us what you found. We’ll take it from there.
Written by the team at Gate Repair Rialto, serving Rialto since 2013.
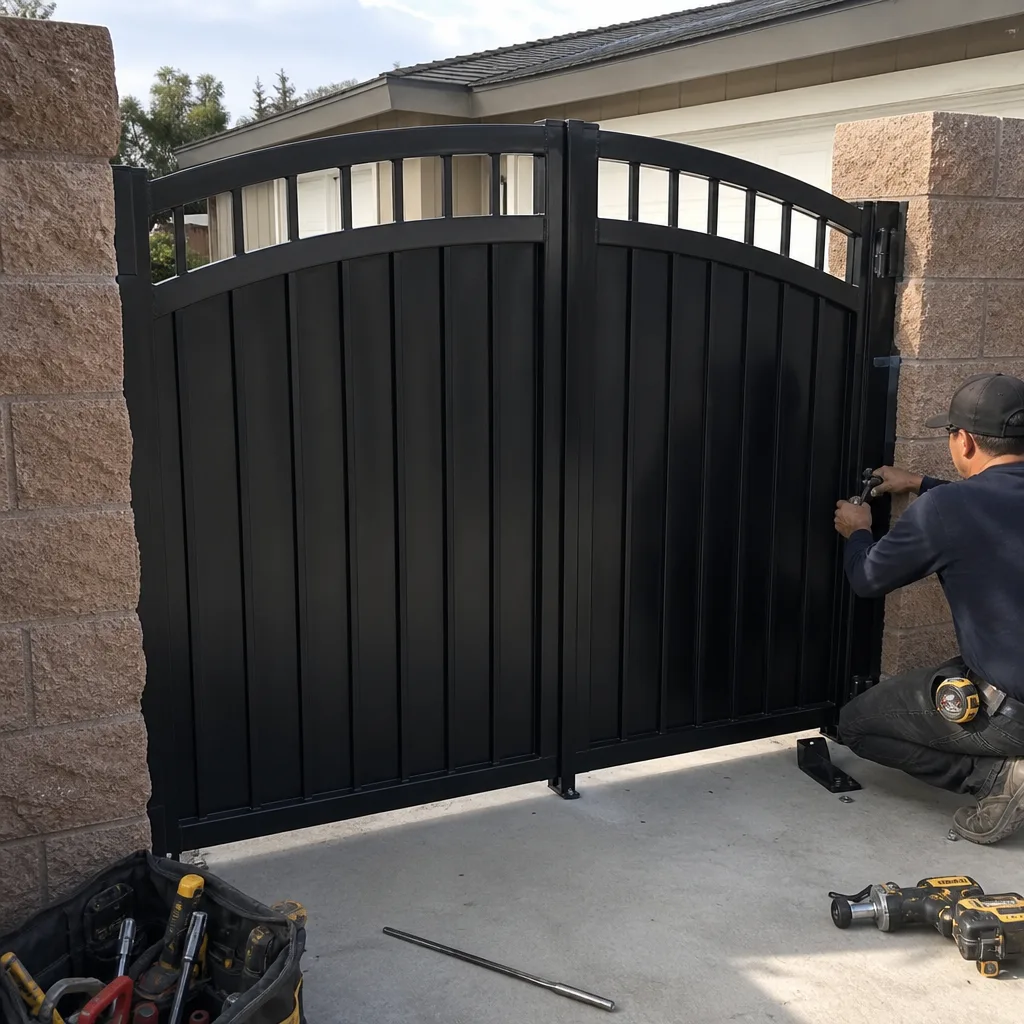
See the difference
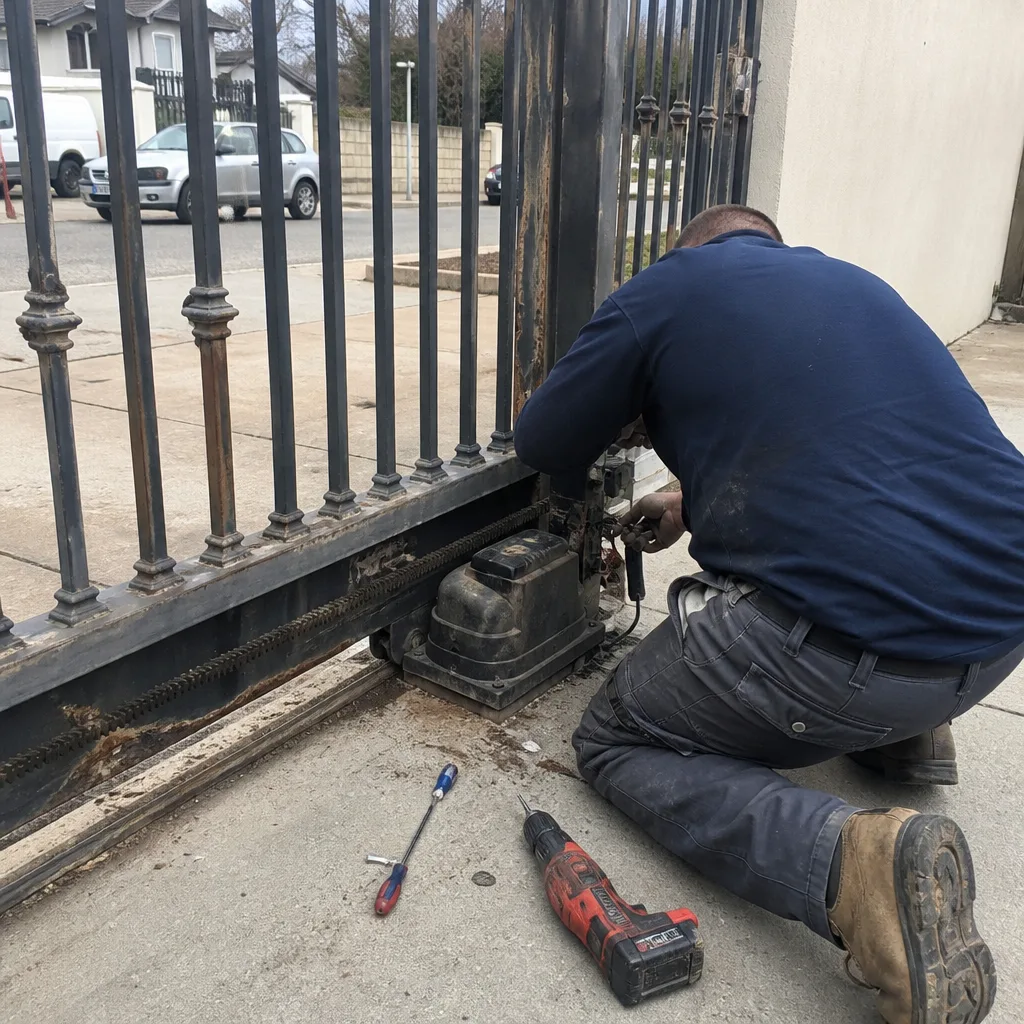 Before
 After
 Before
 After
 Before
 After